

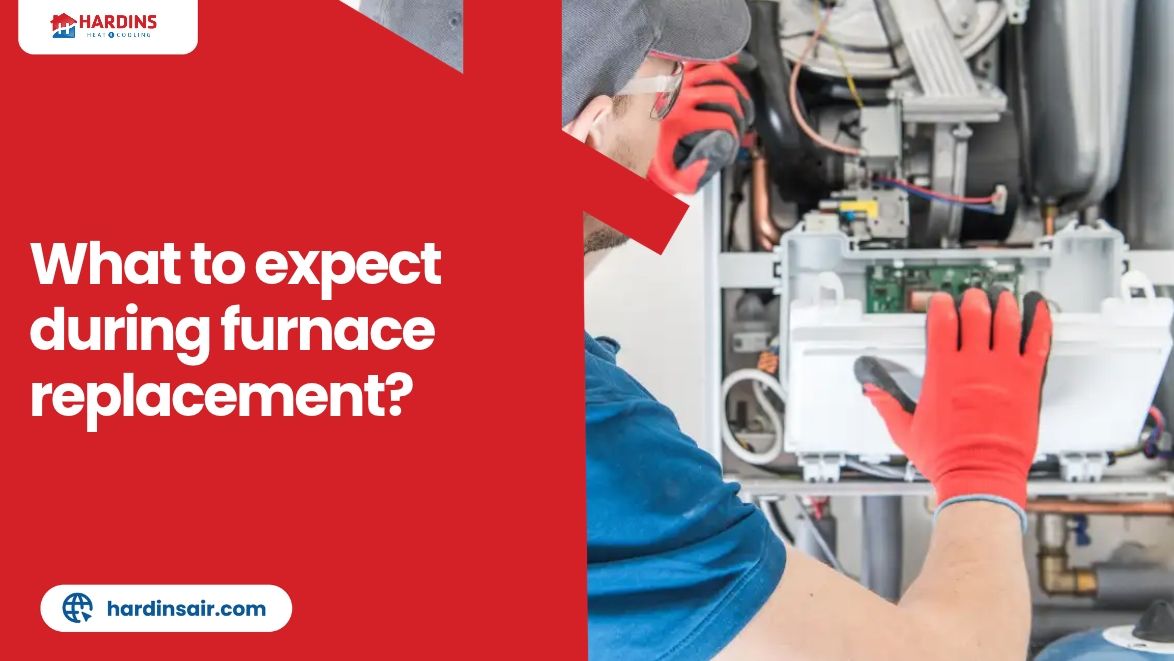
Replacing an old furnace is pretty straightforward and usually takes four to eight hours. On installation day, heating technicians safely disconnect your old unit, pre measure the space and set up the new heater. Next, they hook up all duct connections, power lines and gas pipes. After the unit sits securely, the crew runs quick safety tests to make sure everything works right before showing you how to use the new thermostat. Clearing a little space ahead of time helps the workers finish faster, protects your floors and lets your new system run smoothly right away.
Key Takeaways
- Knowing what happens on installation day helps you prepare your home for a smooth residential heating replacement process.
- Technicians need a clear workspace around your heater, open pathways through the house, plus easy access to your electrical panel.
- Most jobs take four to eight hours depending on system size, duct changes or local safety rules.
- Installers test system airflow, check gas lines and show you how to set the thermostat before leaving.
How to Prepare Your Home Before Furnace Installation Day
Taking a few quick steps before installers arrive saves time while keeping your belongings safe. Here is how you can get your house ready:
- Clear a five foot circle around your furnace or utility closet.
- Move boxes, furniture or toys out of hallways so workers walk through safely carrying heavy gear.
- Put pets in a quiet room far away from open doors, loud noises and heavy foot traffic.
- Park your car on the street so the work truck gets close access to your front door.
- Check the path to your electrical breaker panel to make sure it stays completely open.
Step by step Overview of What Happens On Installation Day
Here is how the team replaces your system from start to finish.
Initial Walkthrough and Floor Protection
When the crew arrives, the lead worker checks the equipment path, inspecting your setup. Installers lay down protective mats over carpets or hardwood, stopping dirt and heavy boot marks from messing up your floors. They also take time to answer any quick questions you have about the schedule before unloading heavy machinery from the delivery truck.
Safely Disconnecting the Old Unit
Before touching any machinery, workers shut off power supply switches alongside gas or oil lines. They carefully unhook vent pipes, electrical wires and duct fittings. After everything is loose, they haul the heavy metal cabinet out to their truck for disposal. Safely turning off fuel lines prevents dangerous leaks or electrical sparks while the team maneuvers equipment through tight spaces.
Modifying Ductwork and Fitting the New Furnace
New heaters rarely match old dimensions perfectly. Technicians adjust sheet metal boxes, line up air ducts, then set the new cabinet on a flat, noise absorbing pad. Custom fitting your air plenum ensures that strong airflow moves through every room without leaking warm air into unfinished basements or crawlspaces.
Connecting Fuel Lines, Wiring and Exhaust Vents
Once the cabinet sits level, workers run fresh electrical wiring. They hook up low voltage thermostat lines, pipe in gas connections and attach vent pipes. Proper venting ensures dangerous fumes blow straight outside your home. Technicians double check every single fitting with special leak detection tools to guarantee complete safety for your household.
System Startup, Air Pressure Checks and Safety Tests
With all lines connected, installers turn the power back on to run a full test. They measure air temperature from your vents, check gas pressure and test emergency shutoff switches to ensure complete safety. Testing these components under full power confirms that your new unit cycles on and off smoothly without tripping electrical breakers.
What Homeowners Should Do After the Installation Crew Leaves
Once the installers finish loading up their trucks, you can take a few quick steps on your own to make sure your new heater works out great over the coming years:
- Save Your Equipment Papers: Throwing all your receipts, user manuals and registration forms straight into a single designated binder keeps them easy to find if you ever need service down the road.
- Track Indoor Comfort for 24 Hours: Keep an eye on how your house feels throughout the first day, paying attention to whether the bedrooms warm up evenly or if certain vents feel weak.
- Inspect the Floor Around the Heater: Take a quick look around the base of your new unit to confirm the surrounding slab stays completely dry and that no stray screws or metal offcuts were left behind.
- Write Down Your Air Filter Size: Snap a quick picture of the measurements printed along the edge of your filter box so you always grab the exact right size at the store.
- Verify Thermostat Settings: Head over to your hallway wall pad and watch how the system cycles, making sure it holds your preferred room temperature smoothly without turning on and off every five minutes.
Useful Tips for Long Term Heating Efficiency
Following a few basic habits around the house makes a massive difference:
- Swap Air Filters Regularly: Replace the filter whenever it gets dusty to keep your blower fan from working too hard, which lowers your monthly electric bill.
- Use a Smart Thermostat: Programming your thermostat to drop a few degrees while everyone is out at work saves serious cash over the course of a cold winter.
- Keep Air Vents Clear: Walk around your rooms to double check that heavy furniture, pet beds or long hanging drapes are not sitting right on top of your supply grilles.
- Schedule Annual Pre Winter Inspections: Getting an experienced local tech to drop by every autumn catches minor wear and tear before it turns into a total breakdown, plus it keeps your factory warranty active.
- Seal Leaky Ductwork Connections: If you have exposed metal pipes in your basement, taping up the seams with heavy duty foil tape keeps warm air from spilling into the floor joists before reaching your living room.
Conclusion
Getting a new furnace does not have to feel overwhelming when you know what happens during the swap. Preparing your space beforehand guarantees a quick, hassle free residential heating replacement process. Choosing skilled installers ensures your gas lines, electrical wiring and ductwork meet local building codes. If you need to replace an aging unit or want your current system checked over, reach out to Hardin’s Heating & Cooling today.
Frequently Asked Questions
How long does a standard home furnace replacement take?
Most standard replacements take four to eight hours. Extra duct repairs or moving gas pipes can extend the job to a full day.
Do I need to leave my house during the furnace installation?
No, you can stay home while technicians work. Expect brief periods of construction noise, plus a temporary loss of heat during the swap.
Will the installation crew haul away my old furnace?
Yes, professional teams remove your old equipment, metal scraps and leftover trash as part of their standard service.
How soon can I turn on my heat after the installation?
You can start using your new furnace right away after installers finish their safety checks, handing you the controls.